Blade inspection · Access and fit
Not yet translated. These links open the resource library in that language:EspañolPortuguêsDeutschالعربية
Internal Blade Inspection Robot: Access Checklist
An access and compatibility checklist: check the opening, route, surfaces, supporting systems and recovery plan before you specify the robot.
This checklist helps asset owners, inspection contractors and procurement teams prepare a technical enquiry. It is a planning framework, not an operating procedure or approval to enter a blade.
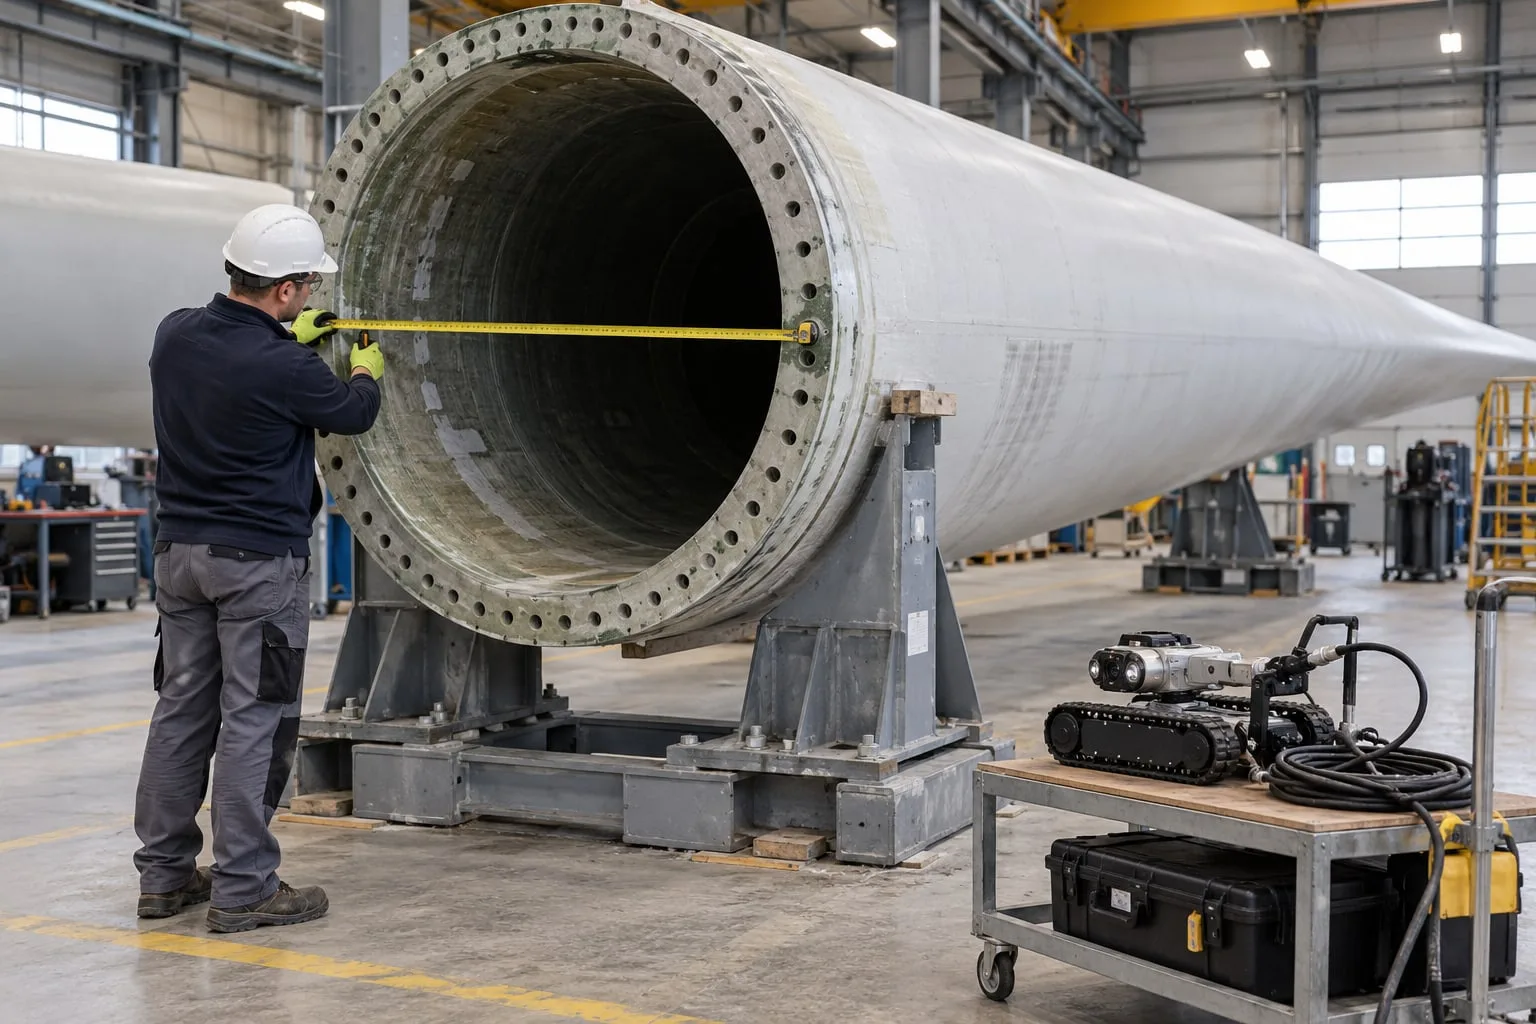
1. Define the inspection question first
Start with the evidence you need. Identify the blade, cavity, target surfaces and decision the inspection will support. “Inspect internally” is too broad to price or verify consistently.
A useful scope might request location-referenced imagery of specified accessible cavity surfaces, with unobserved areas identified separately. Agree whether the goal is baseline documentation, follow-up of a known observation or support for an engineering assessment.
Visual access does not establish subsurface inspection capability. If the concern involves material beneath the visible surface, the responsible engineer should specify the appropriate examination method. The comparison of exterior drones and internal blade robots explains why the evidence boundary matters.
2. Build a blade-specific access pack
Record the exact blade model and relevant configuration changes. A drawing from a similar blade can inform questions, but should not become an unqualified statement about the asset being inspected.
| Review item | Information to collect | Question to resolve |
|---|---|---|
| Asset identity | Turbine, blade model, serial reference and repair history | Does the information describe this blade? |
| Entry opening | Dimensions, shape, photographs and surrounding clearance | Can the configured equipment be introduced and removed? |
| Handling route | Approved access route and available working space | Can the team handle the equipment safely? |
| Cavity geometry | Sections, narrowing zones, webs and transitions | Which planned viewing positions are reachable? |
| Known obstacles | Repair features, cables, internal hardware or loose material | What needs exclusion or further assessment? |
| Surface condition | Available evidence of contamination, moisture or irregularity | Is suitability established for the adhesion system? |
| Recovery boundary | Approved return route and contingency responsibilities | Can the mission end safely if conditions change? |
Include the provenance of each input: controlled drawing, previous inspection, recent photograph or unverified assumption. Give unresolved items an owner and a deadline. This prevents a tentative planning assumption from becoming an apparent approval during a contractor handover.
3. Match the surface to the robot configuration
The WIT-BR60 product page describes a negative-pressure crawler with pressure monitoring, multiple illuminated camera views and human-reviewed, AI-assisted reporting. These are first-party product-document descriptions, not independent proof of suitability for a particular blade.
Ask the supplier to assess the intended contact surfaces against the selected configuration. Request documented requirements for surface condition, geometry and operating environment, together with any exclusions. Do not substitute a general statement such as “works on composite blades” for that assessment.
The public overview does not establish a universal minimum entry opening or an all-model compatibility list. Obtain controlled dimensional information and configuration-specific limits before clearing access. Any representative demonstration should have a written scope describing what it does, and does not, establish about the proposed asset.
4. Separate reachable areas from reviewable imagery
A robot reaching a location does not automatically mean every adjacent surface is documented adequately. Ask how the camera views, lighting and orientation will meet the agreed evidence requirement.
Use a coverage schedule with these fields:
- Target zone and cavity identity
- Intended viewing route
- Required image references and quality criteria
- Areas expected to remain unobserved
- Criteria for accepting or repeating capture
- Reporting treatment for blocked or incomplete areas
Avoid accepting a single percentage without its denominator. Specify whether the scope concerns identified surfaces, a travel interval or another defined quantity. The guide tointernal blade inspection coverage explains the distinction between a coverage statement and a timed run. Neither should replace a project-specific zone list.
5. Confirm the supporting systems
Compatibility also includes the systems around the crawler. Request the current requirements for power, control equipment, communications, cable or tether arrangements where applicable, transport and data storage. Treat these as questions until the proposed configuration is documented.
Agree who supplies each item and who checks interfaces. A useful procurement response identifies included equipment, site-provided services, optional equipment and unresolved dependencies separately.
For reporting, define the original files, location references, annotations and review states required at handover. WindInspectTech’s illustrative inspection report is a discussion aid for output structure, not a completed customer inspection; the guide towhat a blade inspection report should include sets out what to ask for.
6. Keep site safety approval separate from equipment fit
Physical compatibility is only one approval. A competent site team must establish the applicable access, isolation and emergency arrangements using OEM-approved procedures and local requirements.
HSE defines confined spaces by enclosure and foreseeable specified risks, not simply by size. Its confined-space introduction stresses avoiding entry where possible and assessing the particular space. Do not assume that robotic inspection eliminates every human-access risk around deployment and retrieval. HSE is a Great Britain reference; the responsible team must determine the rules applicable at the site. The next step, planning deployment and recovery, covers who approves what.
Pre-mobilisation decision checklist
- Exact asset and cavity identified
- Opening and handling clearances reviewed against controlled equipment information
- Route, surface condition and obstacles assessed
- Required views and exclusions agreed
- Supporting systems and responsibilities assigned
- Approved deployment and recovery arrangements available
- Site safety approvals and competent personnel confirmed
- Unknowns closed, or explicitly retained as hold points
A hold point means the affected activity waits for a defined decision. It should identify who can release it and what evidence they need.
Where to go next
Next steps from this guide
Keep reading
- Blade Inspection Robot Deployment and RecoveryWho approves deployment, what stops the run, and how equipment recovery differs from human rescue.
- Blade Inspection Report: What It Should IncludeSpecify the evidence and coverage statuses before the inspection, so the delivered report can be accepted.
Product
WIT-BR60 internal blade inspection robot
The product page lists the documented values, their conditions and the items to confirm in a quotation. Use it for the configuration questions above.
Next step
Send blade, opening and obstacle details
A compatibility enquiry starts from the blade model, access dimensions, known obstacles and required reporting outcome.
Part of the wind turbine blade inspection guide path.
Evidence register
Sources and limitations
Product descriptions come from the WIT-BR60 page on this site, which is first-party product documentation. The external reference covers confined-space assessment.
- UK HSE — Confined spaces: introduction — how a confined space is defined, avoiding entry where possible and assessing the particular space.
- WIT-BR60 product page — first-party product-document values and their stated conditions.
Limitation: HSE is a Great Britain reference, not a worldwide rule. This page is an editorial planning framework: it does not replace OEM operating instructions, a site risk assessment or approval from a named engineer, and it states no minimum opening, compatibility list or recovery method. The illustration is generic and does not depict a WIT-BR60 unit, a software screen or a customer case.
See the source and editorial policy for how product values, external references and review status are kept separate.
Decision support
Frequently asked questions
Will one robot configuration fit every blade?
Do not assume so. Review the exact blade geometry, access route, operating conditions and inspection scope against controlled supplier information.
Can opening dimensions alone confirm compatibility?
No. The equipment must also negotiate the planned route, obtain the required views and return under an approved recovery arrangement.
Does robotic inspection remove the need for a confined-space assessment?
No. The competent site team must assess the actual work, including any human access associated with deployment or recovery.
What should I send a supplier to start a compatibility enquiry?
The blade model, access dimensions, whatever geometry information is available, known obstacles and the reporting outcome you need. Mark each item as a controlled drawing, a previous inspection, a recent photograph or an assumption.
Engineering review
Prepare a compatibility enquiry your supplier can answer
Send the blade model, access dimensions, known obstacles and the report you need. The configuration and the remaining verification steps can then be reviewed before anyone mobilises.